Making a mockup scene with spread out images

Sometimes you just want to show more than a mockup with a video or image inside it. And if you have an app, you most likely already have images from the App Store you can reuse.
We can use the Simple Universal device to show images or videos in a perfect spread-out below the phone.
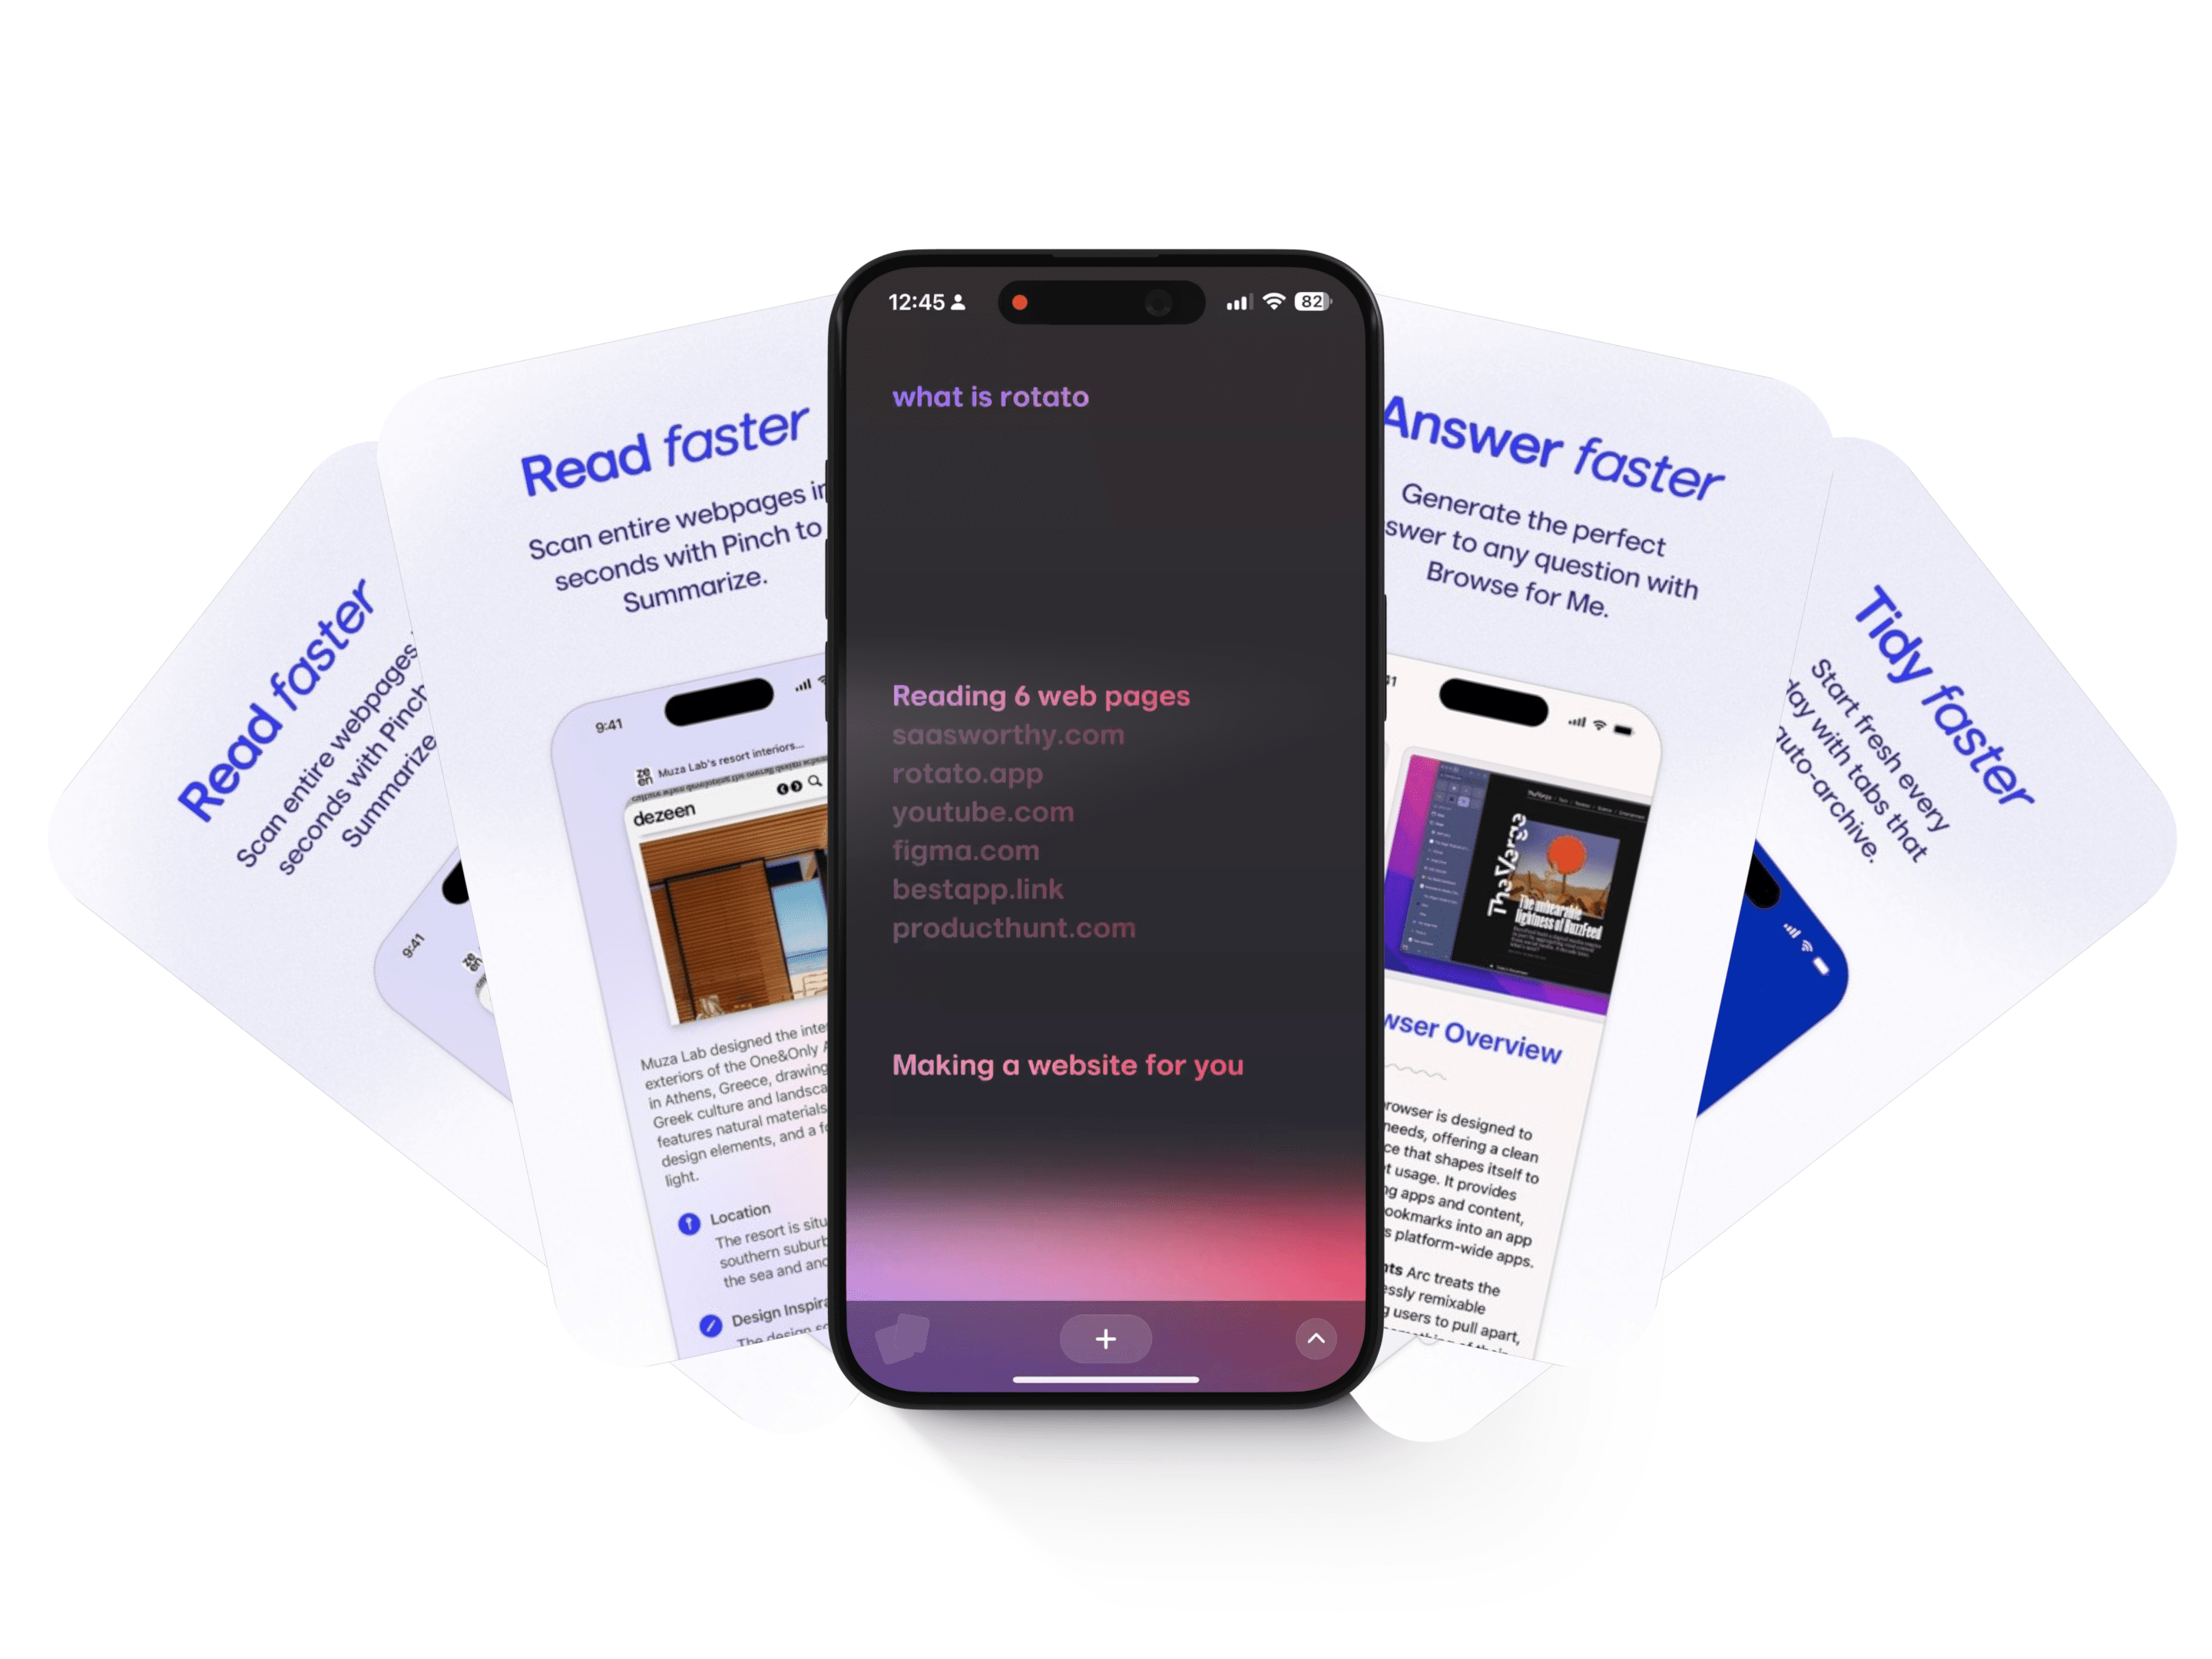
What we'll make
How to do it
Drag in the main video
We'll start by dragging in our demo video onto the iPhone mockup. If you don't have a video, that's fine, you can use an image. You can obviously use any mockup for this, like a laptop, if you want.
Add the first image placeholder
Since we just want the image and not any device, we'll use the Simple Universal device. Click the Plus Sign in the **Devices **section of the sidebar. If Simple Universal is not in your recents, you can search for it.
Position the placeholder and add one more
You can drag in your first image now. Then, drag the image plane to a good position. Don't worry about the rotation for now. The key is to get it roughly where it needs to be.
Then, add another Simple Universal placeholder and drag it to the other side of the mockup device. Again, the rough position is fine for now.
Match up the positions
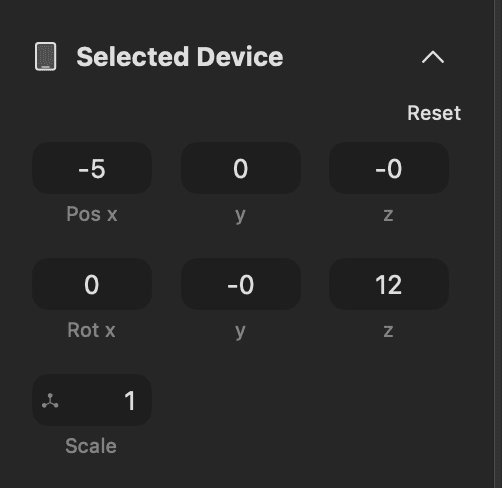
Let's get into the details here. We want each of the images to be placed exactly the same distance from the main mockup. To do that, click one of the image planes and look in the Selected Device sidebar section.
Here's what it might look like

In the image above, I clicked the image plane on the left. Let's start with the postion. Copy the value in Pos x, in my case 5. Then select the image plane on the opposite site of the iPhone mockup.
Now enter the opposite values: -5 for position x and 12 rotation z. This is what that looks like:
Add the remaining images
If you want more images fanning out below the ones we just added, repeat the steps above until you are satisfied. You can add as many as you want.
Create a camera animation
This step is purely optional, but if you want you can make the whole scene zoom out, so you progressively reveal the image planes. Here's the overall steps. See the animation tutorials for more.
- Set the playhead where you want your animation to start.
- Adjust the camera - e.g. zoom in by scrolling - to how you want the animation to start
- Click Add Animation
- The playhead now jumps to the end of the animation and the end keyframe is highlighted. Adjust the camera to how you want the animation to end. In this case, I just zoomed out, revealing the fanned out images.
- Adjust the length of the animation. The longer it is, the longer it takes.
That's it
We just created an interesting scene packed with animations, yet still with a clear focus on the 3D iPhone mockup.